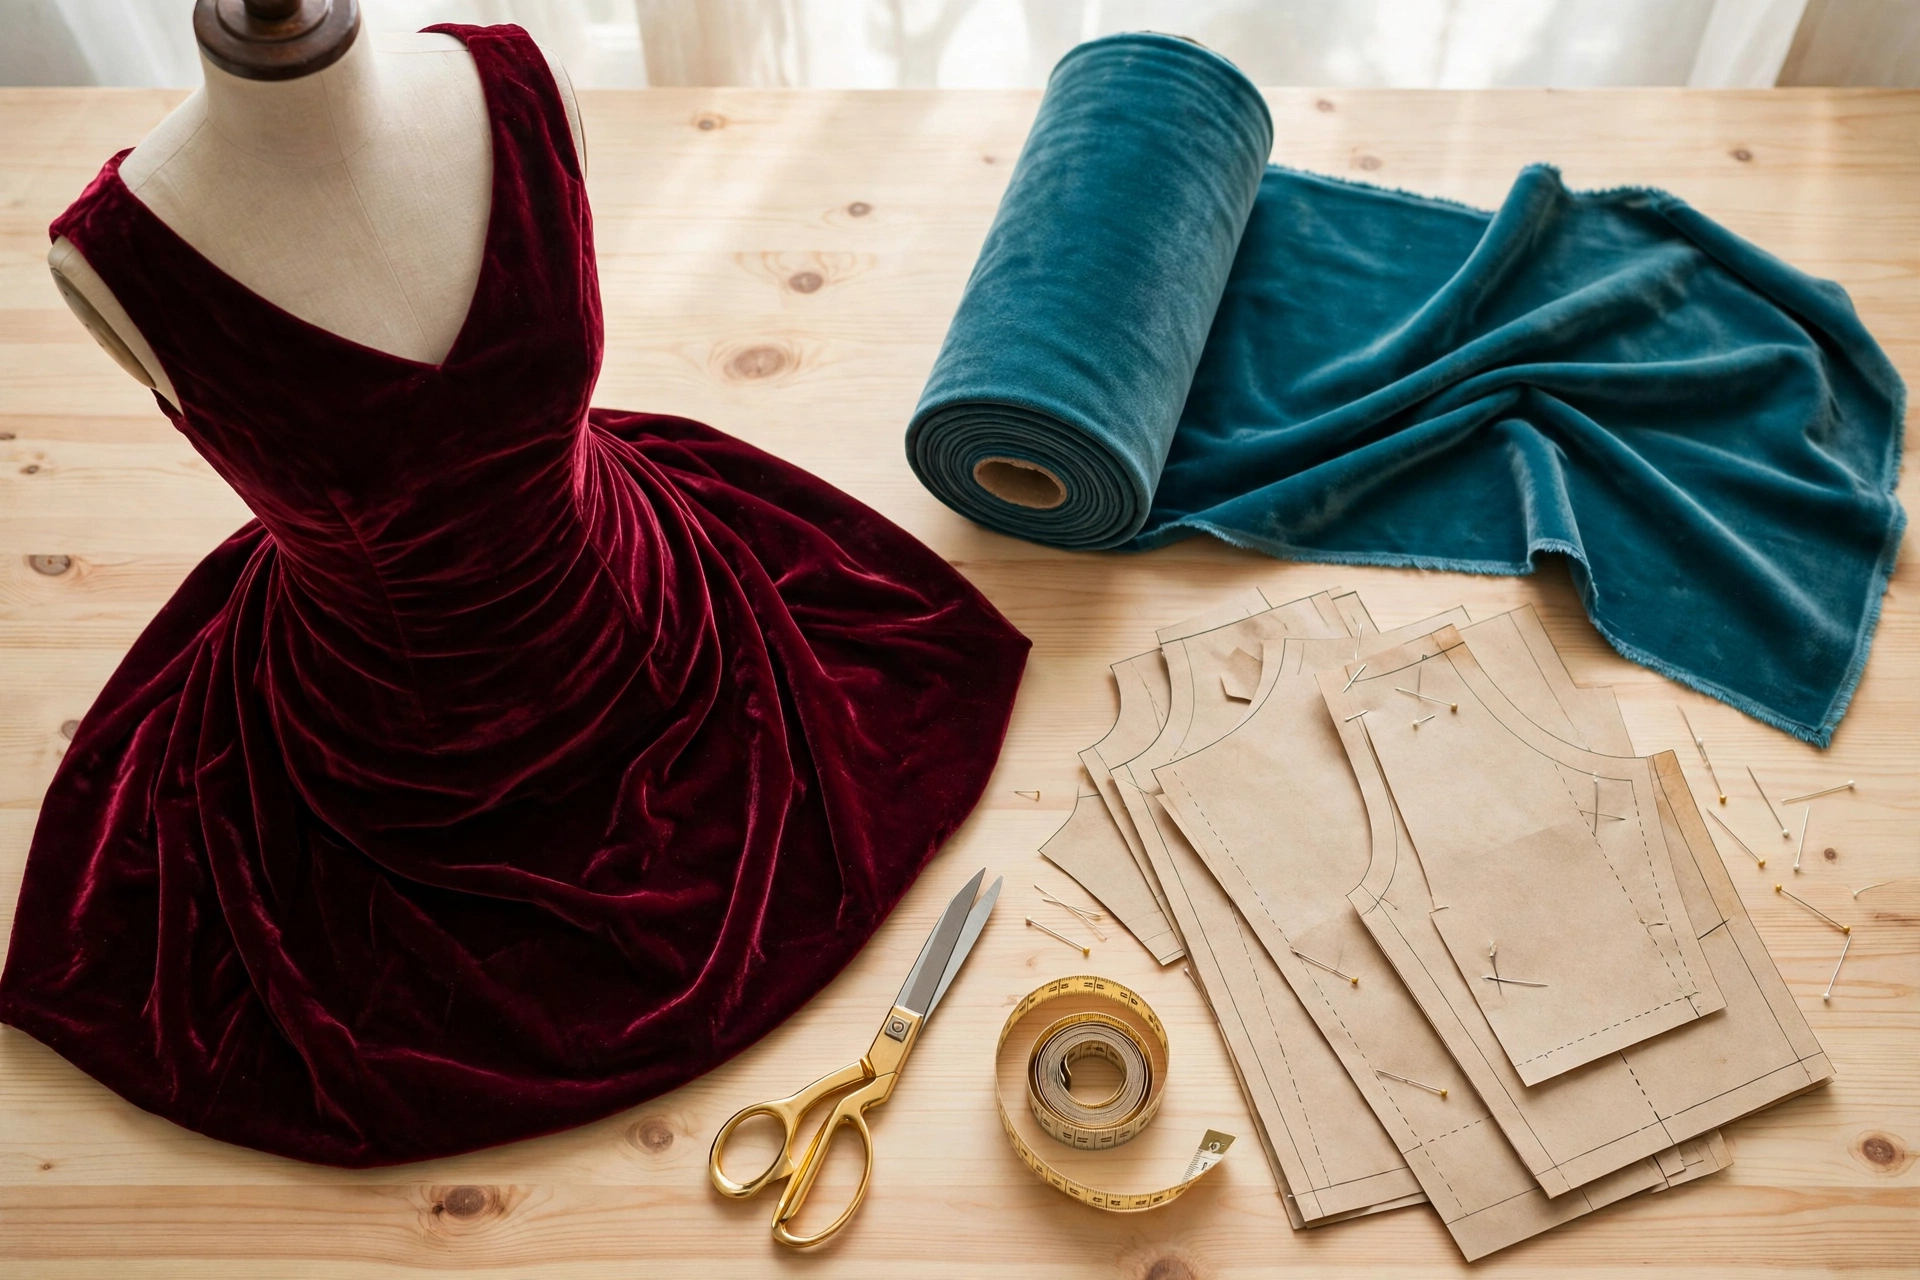
Velvet looks luxurious — but it has a reputation for being difficult to sew
Velvet is the fabric every sewist wants to try and many quietly avoid. It looks expensive, it photographs beautifully, and a velvet dress has a depth of colour that no flat fabric can match. It also slides, shows pin marks, and changes shade with brushing direction. If you have ever abandoned a velvet project halfway through, the problem was almost certainly the preparation, not your sewing skill. Velvet rewards a slower, more deliberate approach, and once you know its habits, it is no harder than any other dress fabric.
If you are still choosing between velvets, our Stretch Velvet vs Royal Velvet guide compares the two main types, and the Velvet Fabric collection at ValentinaTextile.com carries both, sold by the yard.
Choose the right velvet for your dress
The first decision is stretch versus structure, because it changes the pattern, the fit and the sewing. Stretch velvet, in the Stretch Velvet collection, has give built in, so it is forgiving on fit and comfortable to wear. It suits body-skimming styles, wrap dresses and anything you want to pull on without a complicated closure.
Royal velvet, in the Royal Velvet collection, is firmer and more structured. It holds a shape — a full skirt, a defined bodice, a dramatic sleeve — in a way stretch velvet cannot, and suits occasion dresses and A-line or fit-and-flare styles. With less give, measurements must be right and a zip is usually needed.
For a first velvet dress, choose a simple style — a shift, wrap or A-line dress. Avoid very fitted styles and heavy topstitching: every stitch shows on velvet.
Before you cut: nap, layout and marking
Nap is the single most important concept in sewing velvet. Velvet has a pile — tiny fibres that lean in one direction — and light catches that pile differently depending on the direction. If one pattern piece is cut with the nap running up and the next with it running down, the two pieces will look like different colours in the finished dress, even though they came from the same bolt. That is the classic velvet mistake, and it is entirely avoidable.
Decide your nap direction before you cut anything, and cut every piece the same way. Most sewists cut velvet with the nap running down the dress, from shoulder to hem, because that gives a softer, slightly darker look. Feel the direction by hand — one way smooth, the other rough — mark it with chalk, and lay all pieces pointing the same way.
Buy a little extra fabric: nap means you cannot flip pieces to squeeze them on, so layout is less efficient, and an extra half yard leaves room for a test piece. For marking, chalk and tailor’s tacks work, while tracing wheels can crush the pile. Pin inside seam allowances where possible, use fine pins, and consider clips — every pin leaves a tiny hole in velvet.
Cutting velvet without the layers sliding
Cut velvet in a single layer whenever you can. Cutting through a fold doubles the chance that the layers shift, and a shifted cut in velvet is hard to correct. Lay the fabric flat, do not let it hang off the edge of the table — velvet is heavy, and its own weight will pull it out of alignment — and use sharp scissors or a rotary cutter with a fresh blade. Cut with long, smooth strokes.
Handle cut pieces by their edges and keep them flat; stacking them face to face can crush the pile. Cut a test square with your pattern pieces for trying stitch settings before you sew the dress itself.
Seaming: slow down, and let the fabric feed
Velvet’s pile makes layers want to creep apart under the presser foot, so the bottom layer feeds faster than the top and the seam ends up puckered or misaligned. The fixes are simple and work together. First, use a walking foot if you have one — it feeds both layers at the same rate and is the single best tool for velvet. A Teflon foot or lower presser-foot pressure also helps.
Second, sew slowly with plenty of pins or clips; hand-basting long seams often makes the difference between flat and rippled. Use a slightly longer stitch than you would for cotton — around 3 millimetres — and test it on your scrap piece first. Avoid heavy backstitching, which can pucker velvet.
For seam finishes, overlocking works well, and a narrow zigzag is a good alternative. Test any finish on your scrap first.
Pressing velvet: steam, never a flat iron
This is the rule that protects everything you have just sewn. Never press velvet flat with a dry iron. The heat and pressure crush the pile, and a crushed patch shows as a shiny, flat mark that is very difficult to restore. Instead, steam it: hold a steam iron just above the fabric, or use a steamer, and let the steam relax the fibres without pressing them down.
To press a seam open, press from the wrong side over a thick towel or spare velvet placed pile to pile, so the pile has somewhere to go. Press lightly and lift rather than slide the iron. Hang the finished dress rather than folding it, because fold lines in velvet can become permanent creases.
Closures, hems and care
An invisible zip is the usual closure for a velvet dress, and it is worth basting it in place by hand first so it sits straight — a wavy zip on velvet is very visible. Buttonholes are risky on a first velvet dress: the pile can jam in the buttonhole foot, and a torn buttonhole cannot be unpicked cleanly. If your design needs buttons, consider a placket or a simple hook-and-eye closure instead.
For hems, a hand-sewn blind hem is the classic finish: a machine topstitched hem often shows as a hard line across the pile. Hem the dress after it has hung for a day, because velvet stretches under its own weight. For care, check the fabric listing; generally dry cleaning is safest. Between wears, brush lightly, steam out wrinkles, and store hanging.
Shop velvet by the yard at ValentinaTextile.com
A velvet dress rewards patience: choose the right velvet for your style, cut every piece with the nap running the same way, sew slowly with a walking foot, and steam rather than press. Do those four things and the dress will look like the fabric promised it would. Browse the Velvet Fabric collection at ValentinaTextile.com, pick your colour, and start with a simple style — your first velvet dress will not be your last.
Frequently asked questions
Which velvet is easiest for a first dress?
Stretch velvet is the most forgiving for a first dress, because its give covers small fitting errors and it is comfortable to wear. Choose a simple pattern — a shift, wrap or A-line dress — and test your stitch settings on a scrap before sewing the garment.
Why does my velvet dress look two different colours?
That is almost always a nap problem. Velvet’s pile reflects light differently depending on its direction, so if one piece was cut with the nap running up and another running down, the pieces look like different colours. Cut every piece with the nap running the same way, and mark the direction before you start.
Can I iron a velvet dress?
Do not press velvet flat with a dry iron — it crushes the pile and leaves shiny marks. Steam it instead, holding the iron just above the fabric, and press seams from the wrong side over a towel or a piece of spare velvet so the pile has somewhere to go.